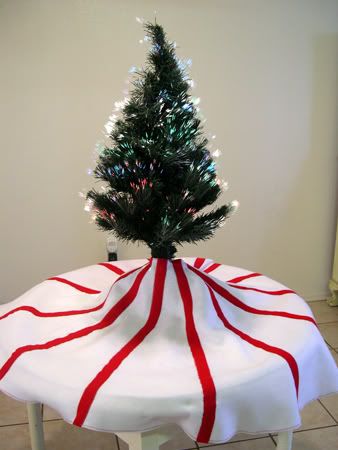
Here's a very basic Christmas tree skirt I finished today, along with my poor lumpy fiber optic tree. I was going for a peppermint-stripe effect!
Project Name: Peppermint Christmas Tree Skirt
Time Taken to Finish: 3 days
Materials Used: at least 2 yards of white felt, less than 1 yard of red felt, white thread, read thread
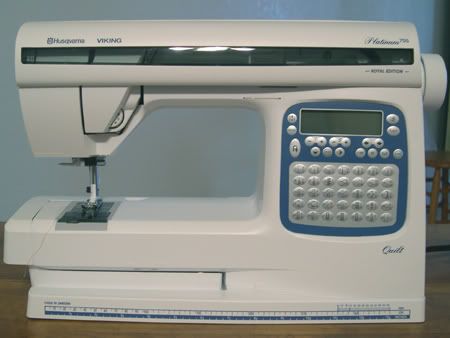
Special Tools Used: sewing machine
What I Liked About the Project: The sewing went really fast with my new machine.
What I Didn't Like About the Project: Arranging the stripes on the skirt - it took forever to get them spaced correctly.
Instructions:
1. Cut a large circle out of the white felt (as big as possible). To do this, I followed steps 1 and 2 of
these tree skirt instructions on Howstuffworks.com. I would recommend practicing the circle-cutting technique on some paper or scrap material first, until you are sure you can do it correctly. The first few times I tried it on a piece of paper I messed up badly. Once I ended up with two half circles and another time I ended up with two identical smaller circles! Once you have cut out the large circle, keep it folded for the next step.
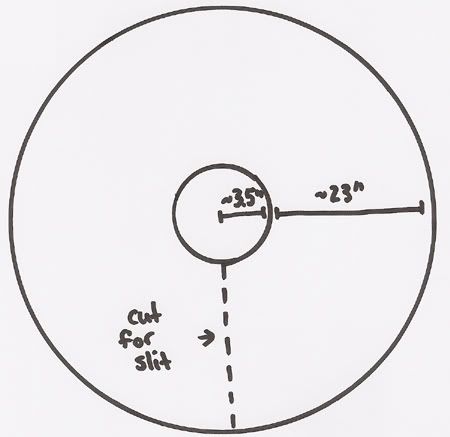
2. With the large circle still folded, use the same technique from the step above to mark and cut out a circle with 3.5 inch radius in the center of the large circle. This will be where the trunk of the tree goes.
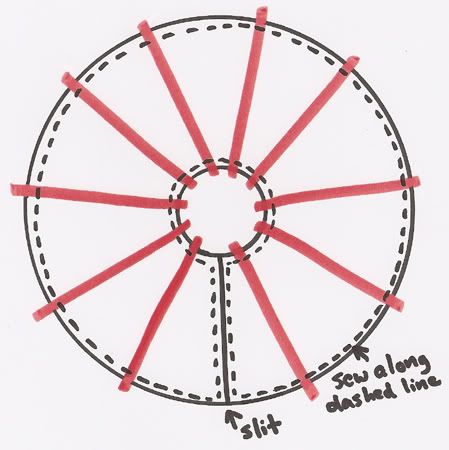
3. Use a ruler to mark a straight line connecting the outer edge of the skirt to the hole in the middle. Cut along this line to make a slit so the skirt can be opened up. Now you have a basic solid-color tree skirt (note that none of my diagrams are to scale):
4. Cut out inch-wide stripes from the red felt. They need to be long enough to go from the outer edge to the hole in the middle, with a couple of extra inches so you have some room to work with. In my skirt this distance was about 23 inches so I made my stripes about 26 inches long. Since the yardstick I have is about an inch wide, I just lined up one side of it with an edge of the felt and then cut down the other side. Cut out as many stripes as you'd like - I made 15.
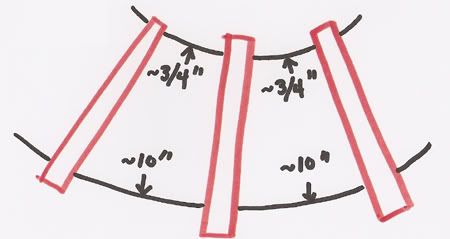
5. Pin the stripes on the skirt. For me this was the hardest part! It took a long time to space them evenly. They are spaced about .75 inches (3/4 of an inch) apart at the top and about 10 inches apart at the bottom. Pin the stripe to the skirt, making sure that you have an inch or so of stripe overhanging the skirt at both the top and bottom.
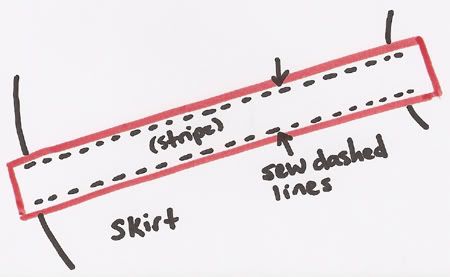
6. Sew down the sides of each stripe, but do not sew across the top and bottom yet. I used white thread to sew a zig-zag on each side of the stripe. Trim your threads (but not the excess red felt yet!).
7. After all the stripes are sewn down, use red thread to sew around the entire inner and outer edges of the skirt (see diagram). Again, I did a zig-zag stitch. This will give the skirt a decorative edge as well as sewing down the tops and bottoms of the stripes. Trim your threads, then trim the excess red felt so that the edges are even with the edges of the skirt. You're done!
