I was very excited to discover that quail have built a nest in the middle of a cactus in our yard!
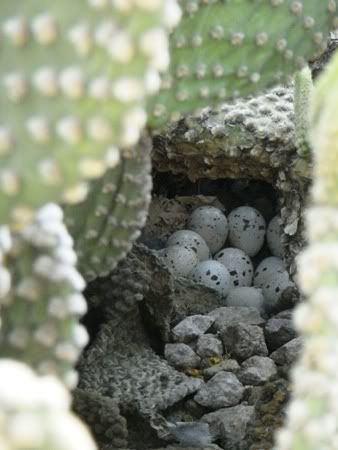

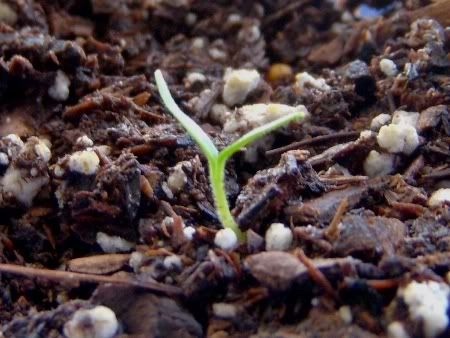
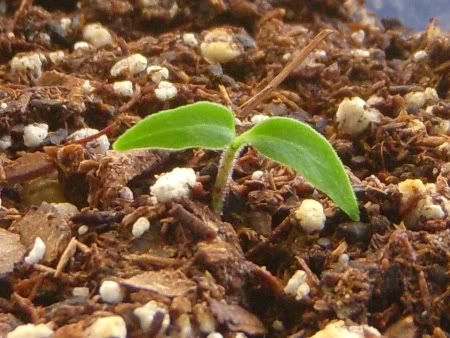
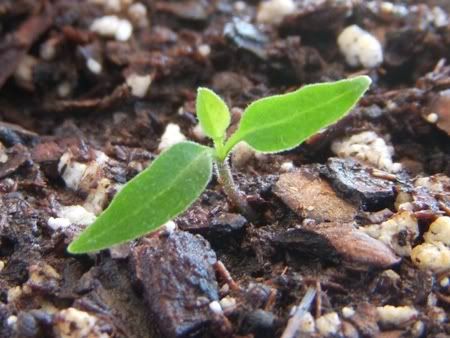
I was very excited to discover that quail have built a nest in the middle of a cactus in our yard!



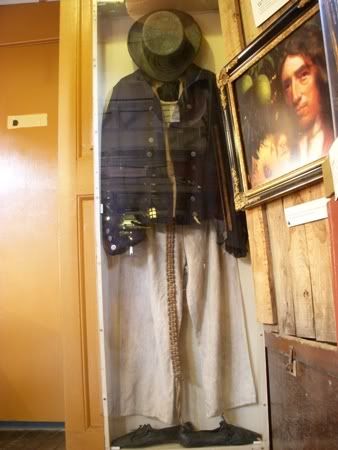
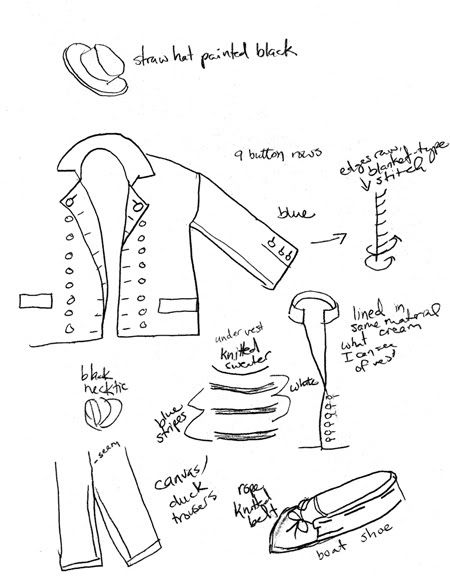
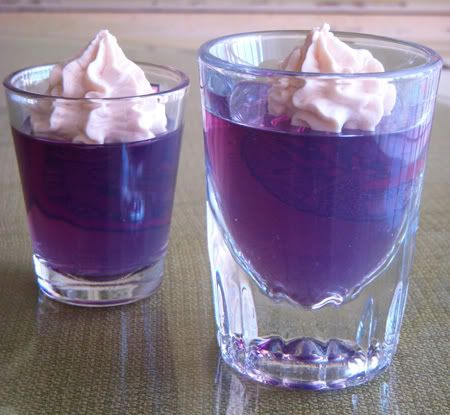
I took a few pictures before I dismantled the sets from my "That One Night" video that I thought I might share. If you have questions about anything feel free to leave me a comment!
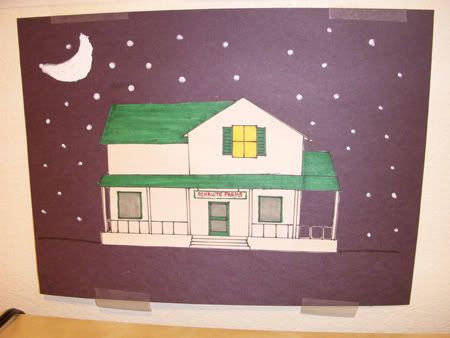 This is the drawing I made of Schrute Farms (at nighttime, hence the pathetic-looking moon!). I based this drawing on what I could see of the farmhouse during the episode "Money" so I probably didn't get everything right. I drew the house on a white sheet of paper, colored it, then cut it out and pasted it onto black construction paper.
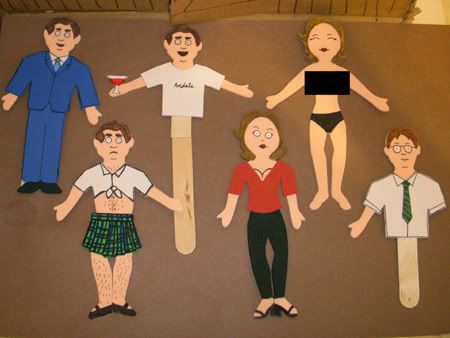 Here are all the puppets I made. It took me a long time to create each one so I cut corners when I knew a body part wouldn't be in the shot (Sandals Michael's legs, Dwight's left arm). The Jan puppets were the hardest to make because both their fronts and backs were appearing on screen so both sides had to look good. On the other puppets I was able to glue everything to popsicle sticks on the back which made it a lot easier. If you're wondering about Jan's censor box, there isn't actually anything under there (she's not anatomically correct, as they say). It just felt wrong to post a picture of her topless!
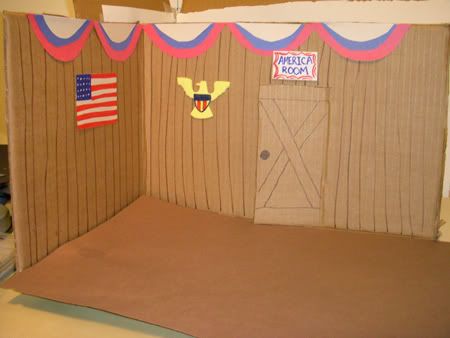 The America room at Schrute Farms. I randomly picked this room for Michael to stay in (we had already seen Irrigation in "Money" and Nighttime sounded a little dull). I was so excited to learn in a deleted scene from "Chair Model" that he actually did stay there! The bed is missing in this photo but it was the same one that appears in the next photo, just with a different bedspread.
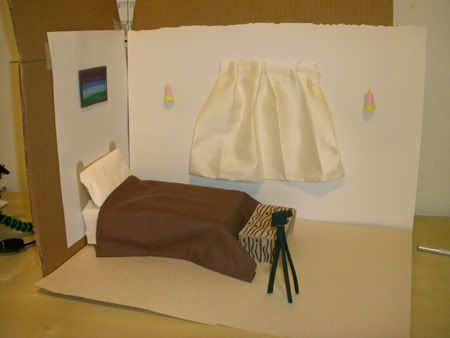 Michael and Jan's bedroom. The bed is a stack of books, covered with a facial tissue and a square of brown fabric. The pillow is made of folded facial tissue too. The bench, camera, candles, and picture are all craft foam and the curtain is ivory fabric.
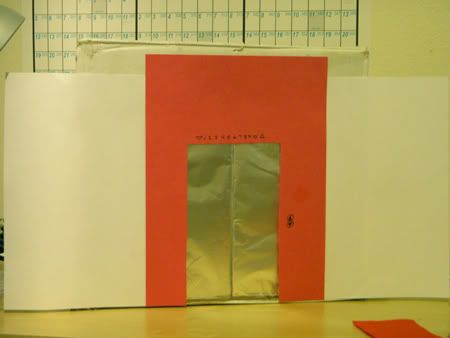 The front of the elevator set. Only the red portion made it into the shot.
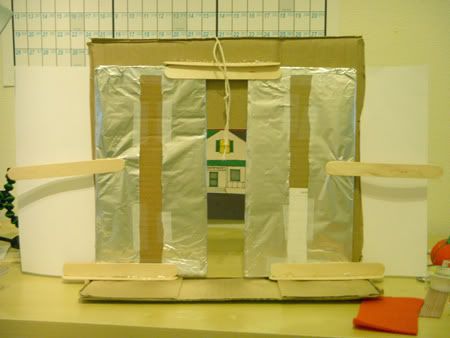 The back of the elevator. This was the most complicated set to build and shoot in because of the sliding doors. I made tracks out of popsicle sticks to keep the doors in place but they didn't slide very smoothly. It took lots of practice to get them to close at the same speed (and without hitting the Michael puppet!).
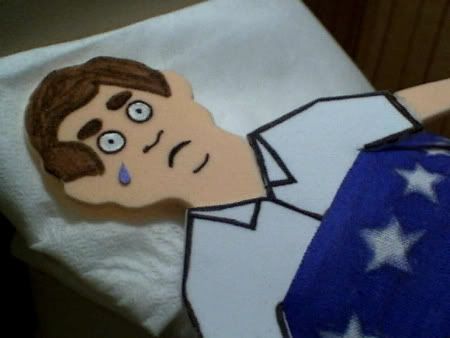 The other difficult scene to film was Michael crying in bed. I started out trying to drip water on his face to make a tear but the drop would either just sit there in the middle of his face or it would fall off too quickly. So I switched to a construction paper tear and used stop-motion animation to make it appear to move. It was frustrating because every time I tried to scoot the tear into the next position with tweezers I would push too hard and the tiny piece of paper would fly off of his face! I then had to hunt it down and start the animation all over again.
Just a quick post to highlight some of my favorite craft projects from the past few years:
Unfortunately my video didn't win, but thanks to everyone who voted for it! I am pleased to report that my video is one of four "runner-ups" that are featured alongside the winning video on the official Office website. Being picked as one of the top 5 out of 134 makes me pretty happy!
Update 2/17/11: I've removed all the links to the videos that were here because NBC took them down. You can still watch my video here.

Notice: My patterns are free and may not be sold. Please do not reproduce or repost patterns or instructions from CraftyCattery.com without my permission. For information on selling items created from my patterns, please view the FAQ.