Monday, July 14, 2008

Chiltepin Plants Update


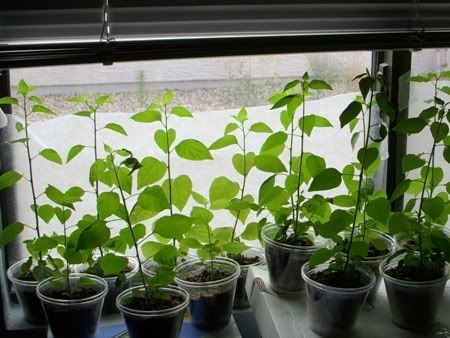
My chiltepin plants are doing surprisingly well! Out of the 32 I planted so far I've only lost one. Now some of them are outgrowing their tiny potting cups so I'm starting to replant them into large containers. Pots are expensive! I went to every garden center I could find to try to buy large containers that were less than $1 a piece but no luck. I was hoping someone would sell the cheap plastic pots that the nurseries use but I couldn't find them anywhere. I ended up having to order them online from GreenhouseMegaStore.com - they had a bundle of thirty 2.5 gallon containers for $17. Plus $15 shipping that ended up being $32, a little more than $1 a piece.
So far I've replanted eleven of the chili tepin plants in the 2.5 gallon containers today. Right now they're sitting inside my patio door - hopefully they'll get enough sun there. They probably would get more sun outside, but it's the monsoon season here in Arizona. So in addition to surviving the desert heat the plants would also have to make it through the strong winds and heavy rain of the monsoon storms. I think I'll try to keep them inside as long as I can so they can grow big and strong!

Here are some photos I took about once a week of one of the chiltepin plants to track it's growth:
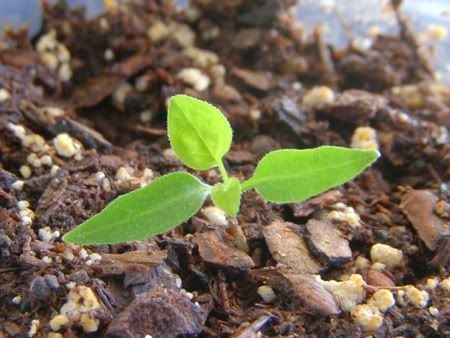

May 31st
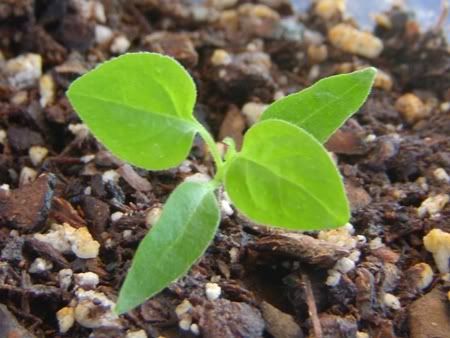

June 3rd
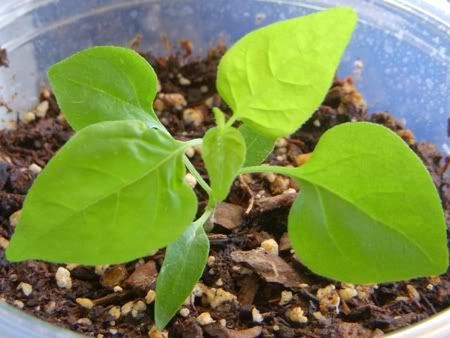

June 11th
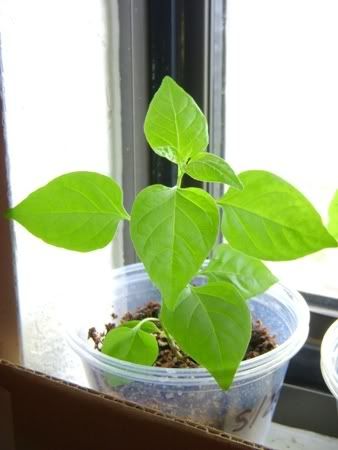

June 21st
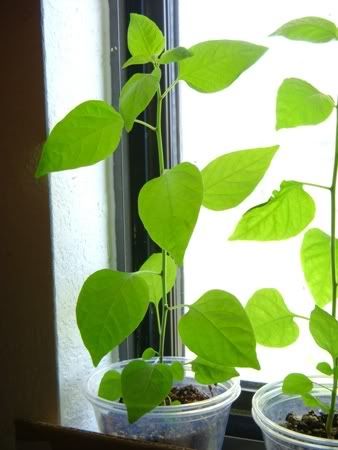

June 30th
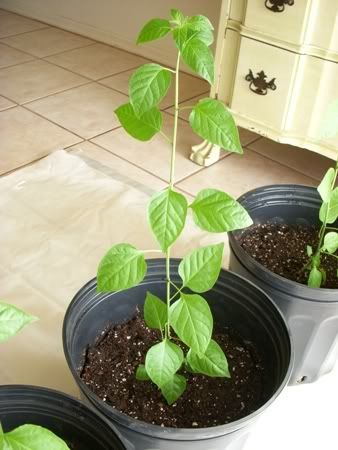

July 9th (in the new big pot!)


Update 1/15/09: Unfortunately I had to leave my chiltepin plants outside while I was gone for two weeks over Christmas. We had several hard freezes (and one snow!) while I was away and since I wasn't able to cover them up, they didn't make it. I'm still watering them, hoping maybe they can be revived but it's probably a lost cause. :( I'll just have to start over once it gets warm.

Friday, July 11, 2008

Two More Amigurumi Bears

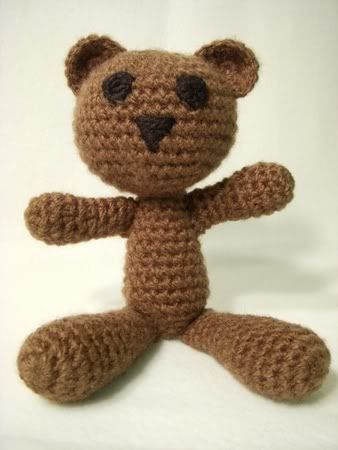
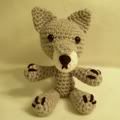
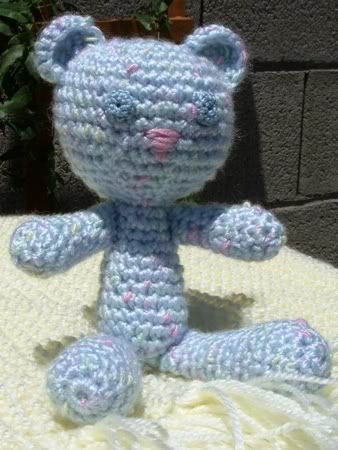
I've crocheted two more Beary Jackson amigurumi bears. They're so cute! You can see the first Beary I made here and you can find the pattern at Rheatheylia.com.


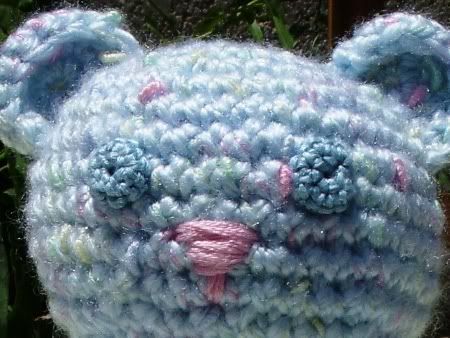
I crocheted this blue Beary Jackson as a baby gift. The pretty yarn (Caron Simply Soft Baby in Powder Blue) was originally used during the mother-to-be's baby shower to play the game, "How Big Is Mommy?" (each guest cuts a piece of yarn that they think is the diameter of the mother's belly; the closest to the real thing wins). I acquired the leftover yarn and used it to make Beary!


I made this Beary for a friend who fell in love with the first Beary I crocheted. The yarn used was Lion Brand Jiffy in Caffe.


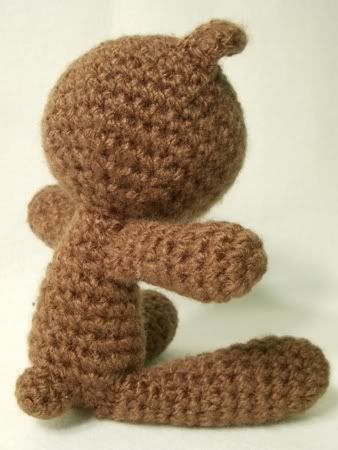
From the back view you can see that I've been adding tails to my Bearys (they're not in the original pattern). His head is pretty big and makes him unbalanced so the tail makes it easier for him to sit without falling over. Here's the pattern for the tail piece for a small Beary:

Tail
Round 1: crochet 4 stitches in a ring (4)
Round 2: increase every stitch (8)
Round 3: stitch across (8)
(If you want the tail to be a little longer you can stitch across another round)
Stuff and sew to Beary.


Since the bears are going to be around small children I decided to make the eyes and nose out of yarn (or embroidery floss for the smaller blue bear). For the eyes, I crocheted little circles then sewed them on; for the nose I just did a little bit of embroidery.

Wednesday, July 09, 2008

Garter Stitch Baby Blanket


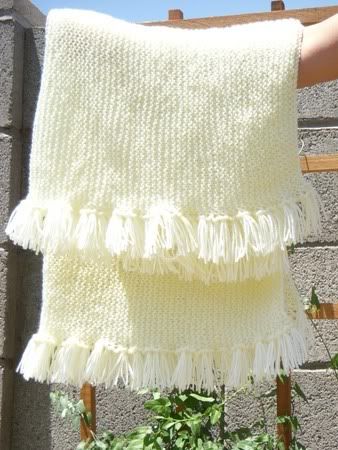
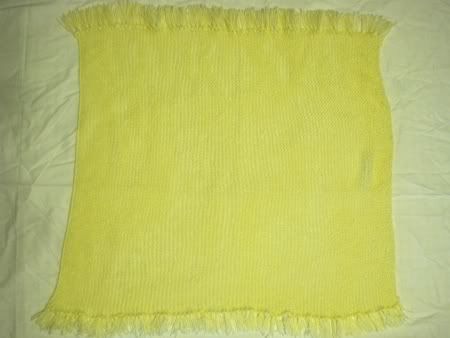
I just finished knitting this baby blanket for a friend who's expecting. It was simple garter stitch, but man, it seemed to take forever! This is my third baby blanket, you can see the first here and the second here.

Project Name: Garter Stitch Baby Blanket
Time Taken to Finish: 2 months
Finished Size: 27 inches by 33 inches (not including fringe)
Type of Yarn Used: Red Heart Soft Baby in Powder Yellow
Amount of Yarn Used: 1 skein (I needed a little extra for the fringe)
Needles Used: US size 10.5 needles
What I Liked About the Project: Since it was garter stitch the knitting was easy.
What I Didn't Like About the Project: It seemed to take forever to knit - I think it was because I was using such thin yarn (it was sport weight). For my previous two baby blankets I used bulky weight yarn which obviously knitted up much faster.

Instructions: Cast on 100 stitches. Knit all stitches until blanket is as long as you'd like (I stopped at 33 inches). Add fringe to two sides - there's a good tutorial for adding fringe at Fiber-Images.com.
Here's a photo of the finished blanket, spread out so you can see the whole thing:

Related Posts with Thumbnails